Modify a User Profile
Each agency employee who uses HawkSoft must have a user profile that includes their name, login credentials, email, and permissions set to accommodate their job functions. The User Profile is also where you can set this user's contact information for placement on forms and correspondence.
HawkSoft User Profiles can be added and configured through the User Setup tab in Agency Setup. See Add a New User for more information.
A user's initials can not be changed after the user is created. If a user needs different initials, such as to correct a typo or change of name, the recommended workflow is to create a new user with the desired initials and make the existing user inactive. After the new user is created, you can reassign tasks, clients, and policies in bulk from the old user to the new one. See Remove or Replace a User for more information.
The following article is intended to help an agency administrator or manager edit existing users and assign permissions.
 Required Permissions
In order to complete this task, user permissions must be set to include:
Agency Setup > Agency Info/Office Setup
Agency Setup > User Setup
See User Permissions for more information.
How to access User Setup
Click the  Setup icon, and then select User Setup.
OR
-
Log into the HawkSoft Web app, accessed from any computer.
-
Click the
 Setup menu at the top-right corner, and then select User Setup.
 For more information about logging into the HawkSoft web app, see Logging In and Out of HawkSoft.
To filter users
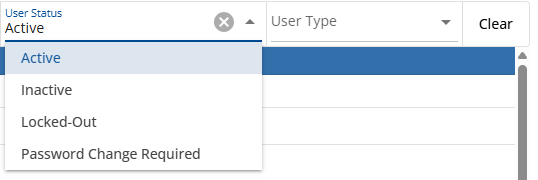
You can select one or more filters to narrow down the user list.
The user list includes only active users by default. You can open the User Status drop-down menu and select Inactive from the list to view only inactivated users if needed.
You can select other categories of user to filter from the User Type drop-down.
Can Manage Users - Select to view a list of users who have permissions to add or modify users for your agency.
Roaming Users - Select to view a list of users who are able to log into multiple offices.
Tracking Users - Select to view profiles that are designated as a Tracking only user.
Administrators - Select to view the list of Agency Administrators.
Click Clear from the Filter bar to remove all filter selections and display all active users in the user list.
To modify a user
-
Select a user from the user list to open the account details to make changes for just that user.
For larger agencies, you can search for a user by name, default office, or use the available Filter options. To search for inactive users, click the Show Inactive slider.
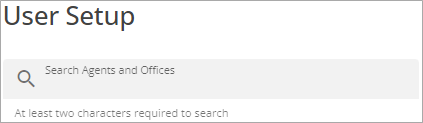
The User Profile dialog opens.
-
Modify the user profile information on the user profile tabs as needed.
Account
The Account tab includes basic information about the user. You can use this tab to inactivate a user or reset their password.
Convert to Tracking User - HawkSoft enables you to convert a user profile to a Commissions and Sales Tracking placeholder. For more information on Tracking Only users, see To add a Commissions or Sales Tracking Only userTo add a Commissions or Sales Tracking Only userTo add a Commissions or Sales Tracking Only user.
When converting a user to a Tracking Only user the user's account email, password, user permissions, and offices (if part of a multi-office agency) will be permanently deleted. Once deleted, this information cannot be recovered.
Convert to Normal User - HawkSoft enables you to convert a Tracking Only user back to a normal user with an assigned user profile. After converting, the user's profile must be updated to include an account email, password, user permissions, and offices (if part of a multi-office agency). For more information on how to set up a user profile, see Add a New User
First and Last Name - Modify the user's First Name and Last Name as you would like it to appear on correspondence.
Account Email - (Required) The user's email address. This email is used for resetting the user's password.
You can click Resend Install Instructions to send a new copy of the email installation instructions to this user. For example, you could resend instructions when they are setting up a new workstation.
This email contains a link to download the HawkSoft Installer and instructions on running the installer. However, the email does not contain the agency ID or the user's Initials or Password.Require Password Change - You can require that a user must change their password. For example, after creating a new user with a temporary password, you can require that the user creates their own password.
Password - Click the Update button to enter a new password for the user.
If a user gets locked out of HawkSoft, see Unlock a Locked User
Offices (Multi-office agencies)
The offices tab includes a list of each of your agency offices. Once you have configured your offices, you can determine which office each user logs into by default to make it quicker and easier for them to log into their home office. You can determine the default office from the Users tab.
If your agency has a large number of offices, you can use the Filter Search Offices field to filter offices by ID or name.
Default Office - The primary office for the user. When they log in, they will log into the default office.
You can click the checkbox in the header of the table to quickly check all offices.
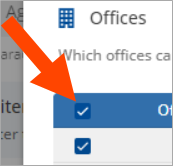
This is a roaming user - All of the offices this user is assigned, will be listed from the drop-down on the log in dialog.
How does this impact my agency?
Assigning users to specific offices does:
- Impact which office the user signs into by default. However, users have the ability to change their default office in their My Account settings
- Determine office information printed on agency documents. See Print Settings for more information.
- Enable you to set different default agents on the clients and policies for each office
Assigning users to specific offices does not:
-
Prevent users from performing actions associated with offices they are not assigned to. Users can perform any actions they have permissions to for any of your agency offices. See Multi-Office Setup for more information.
User Info
The user information on this tab can be filled in by the administrator or the user can complete their own information from the My Account settings.
The Email Address on this screen is used on any correspondence generated by this user through HawkSoft.
Information in the Email, Phone, Address, and Notes fields are available for the user to insert into forms and correspondence.
All of the fields on this tab are optional.
Permissions
From this tab, you can open the Permissions Editor to modify the permissions assigned to this user. See User Permissions for a description of what each permission enables the user to do.
To learn how to modify the permission settings on a user template and then apply that template change to multiple users at once, see User Templates.
-
Under the Select Permission Groups column, check the different groups of permissions that apply to this user.
-
If needed, you can click Show All to see all Permission Groups, or Hide All to hide all groups.
This does not enable or disable any permissions for this user; Permission Groups only determine which permissions can be seen in the table of permissions.
-
In the Permissions table, check
 each permission that this user may need for their agency role(s) and responsibilities.
 The Description next to a permission explains what this user will have access to if that permission is enabled.
If your agency sets User Permissions by Office (UPBO), then the Permissions Editor may appear differently. See User Permissions by Office for more information.
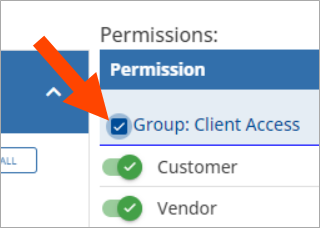
To quickly enable all permissions in a group, check the box next to a Permission Group.
-
Once you have finished modifying the user's permissions, click Close.
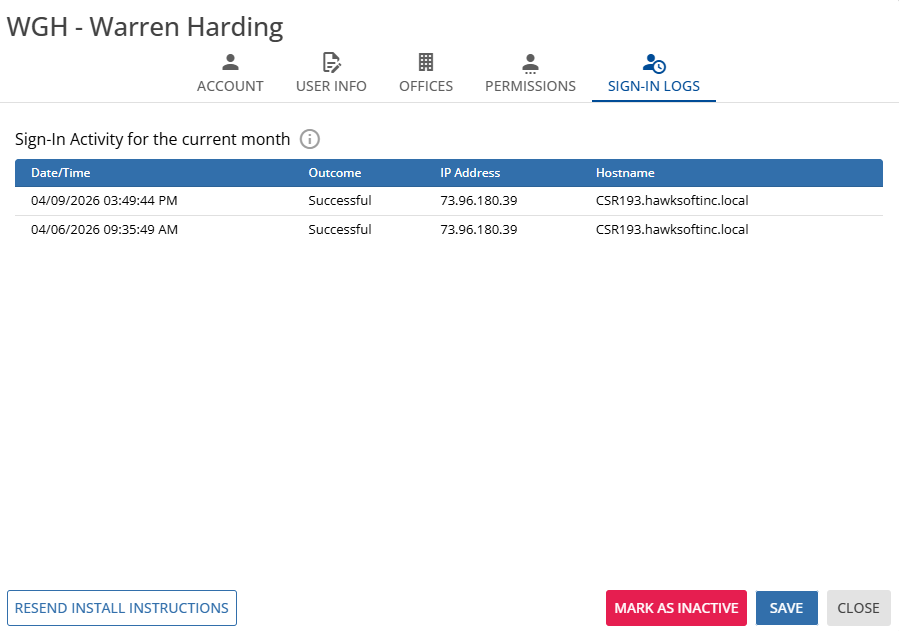
Sign-In Logs
User Sign-In Logs enable you to view a list of each user's most recent sign-in attempts and the outcome of the attempts to help troubleshoot any sign-in issues.
The Sign-In Logs tab displays the user's HawkSoft sign-in attempts for the current month. Each sign-in attempt displays the Date and Time and the outcome.
If a user was denied access to sign-in to HawkSoft because the IP address they attempted to sign-in from was not configured in IP Access Management, see Access Management.
-
Once you have finished modifying the user's profile, click Save.
A confirmation message appears and states that the changes have been successfully saved.
Related Topics